REVIEW · MOAB
Moab: The Windows Astro-Photography and Stargazing Hike
Book on GetYourGuide →Operated by Moab dark sky tours · Bookable on GetYourGuide
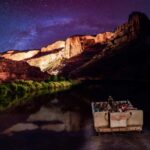
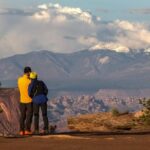
Night in Moab turns into stargazing magic.
This Moab dark sky hike starts at the Windows trailhead after dark and walks you past Arches icons while you learn how to photograph what the human eye can barely catch. I especially like the way it pairs wonder with skills—by the end, you know how to chase the Milky Way using the camera or even your phone.
I also like the small group setup, capped at 6 people, which means you are not lost in a crowd while trying to frame a shot in the dark. And you get hands-on help from guides with real photography chops—people have specifically named guides like Sam and Brandon for being patient and focused on getting good results.
One consideration: you are hiking about 2 miles on uneven rock at night. If your footing is shaky or you dislike dark trails, this tour may feel like more work than fun.
In This Review
- Key things to know before you go
- Meeting at the Windows: your first 15 minutes matter
- The glow-up: headlamps, tripods, and optional DSLR rentals
- The hike itself: North and South Windows to Double Arch under starlight
- Learning night photography fundamentals without the stress
- Milky Way chances, northern lights surprises, and the moon factor
- Who this tour fits best (and who should skip it)
- Price and value: what $175 buys you at Arches after dark
- What to bring for a smooth, photo-ready night
- Should you book this Moab dark sky hike?
- FAQ
- Where do I meet for the hike?
- How long is the experience, and how much do you hike?
- What’s included during the tour?
- Can I rent a DSLR camera or lens?
- What should I bring with me?
- Are pets allowed?
- What are the cancellation terms?
Key things to know before you go
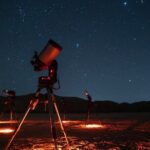
- Milky Way viewing with your naked eye, plus a chance to capture it with your camera
- Red LED headlamps and tripods included to help you stay safe and steady
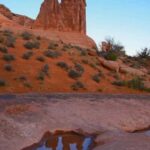
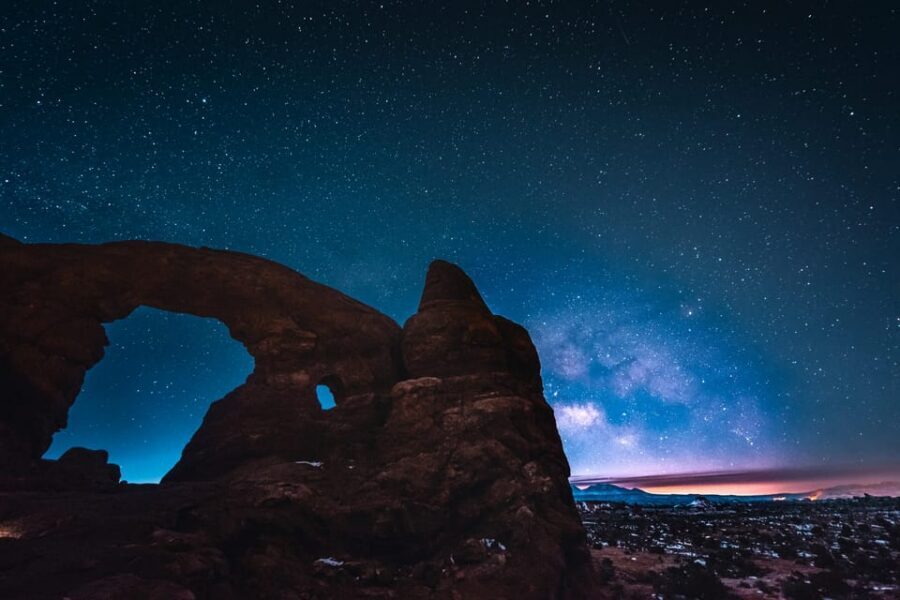
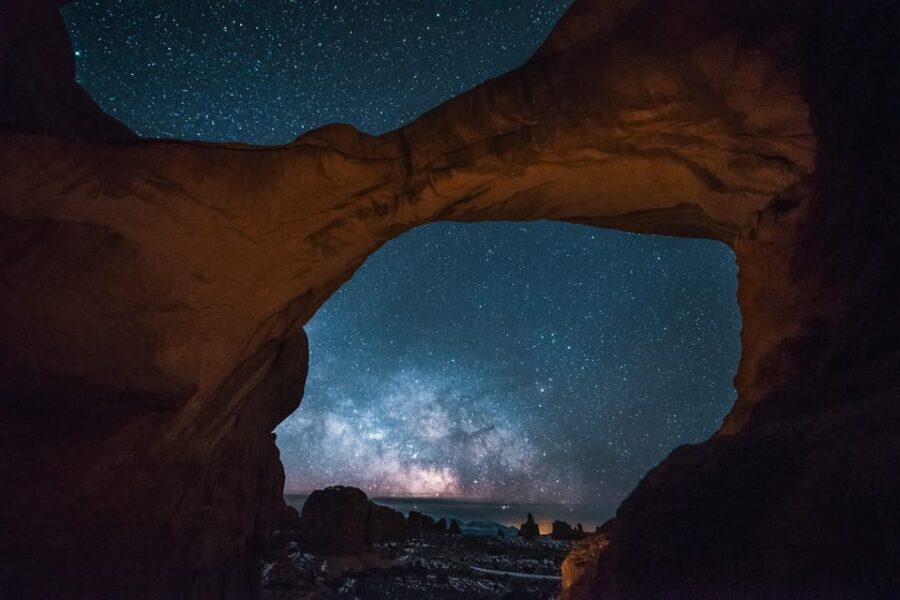
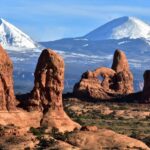
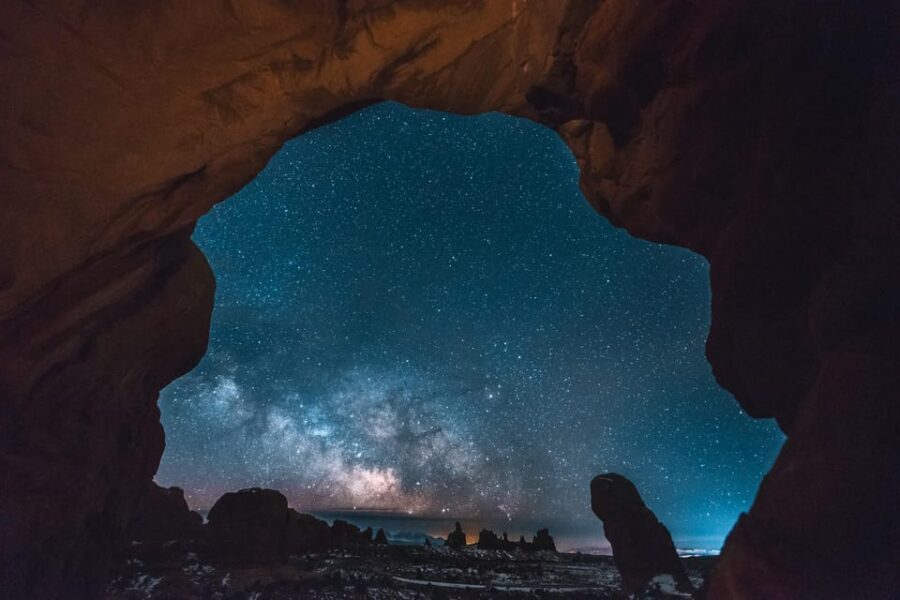
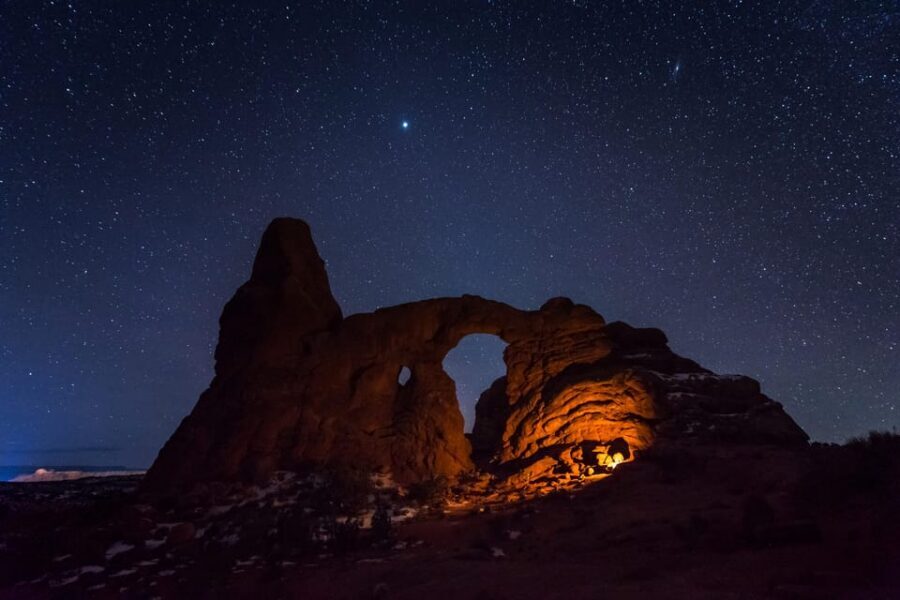
- Arches highlights at night: North and South Windows, Turret Arch, then Double Arch
- Photo instruction for phones and cameras, not just a walk and a speech
- Optional DSLR rental (extra fee) for sharper, more controllable night shots
- Photography works in any moon phase, with guidance on darker-sky timing when possible
Meeting at the Windows: your first 15 minutes matter
You meet after dark at the Windows parking area in the first lot on the right. This is not a daytime tour that slowly turns into stargazing. It is a night-first plan, so being on time helps you get set up before the light disappears.
Once you arrive, you meet your guide and get your bearings fast—this is when the tour starts to feel like an actual workshop. You get red LED headlamps so you can see your steps without blasting white light into everyone’s night vision. If you need it, you are also set up with a tripod so you can start practicing right away.
If you want to get good photos, your first job is simple: be ready. Bring your camera and a charged smartphone. Also bring water, because even a 2-hour hike can feel longer when you are looking up and not taking many breaks.
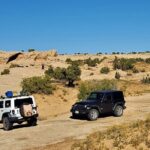
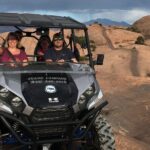
Other sunset and stargazing tours we've reviewed in Moab

The glow-up: headlamps, tripods, and optional DSLR rentals
Included equipment is designed for night hiking and steadier shots. You get red LED headlamps and tripods (if needed), and the guide helps you use them as part of your photography workflow.
Here is the value of the gear approach: a tripod is not just for serious photographers. At night, star photos often require longer exposures, and longer exposures punish shaky hands. With the tripod in play early, you start learning techniques when you still have time to fix them.
You can also rent a DSLR camera and/or lens for an additional fee before the tour begins. The rentals use Canon EF/EFS and Nikon F mounts, so you do not need to guess if your camera system will match. That option is handy if you want cleaner control than what many phones can manage in low light.
What I like about this setup is that it gives you choices. You can do it with what you already own, or you can upgrade for higher-quality night shots if you are chasing the Milky Way more seriously.
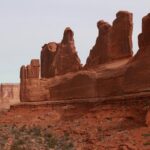
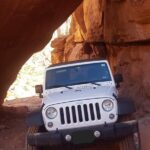
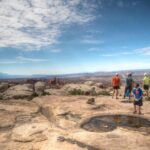
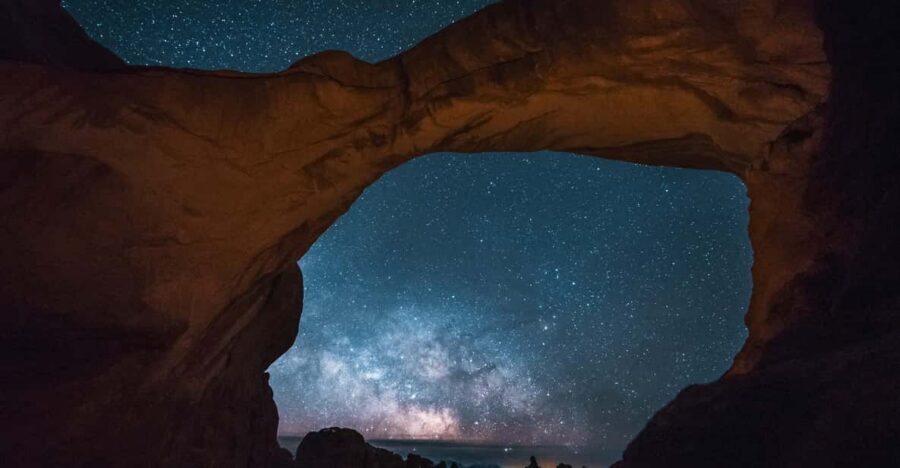
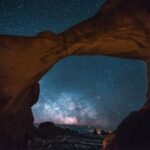
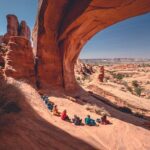
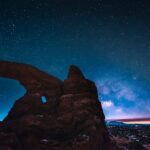
The hike itself: North and South Windows to Double Arch under starlight
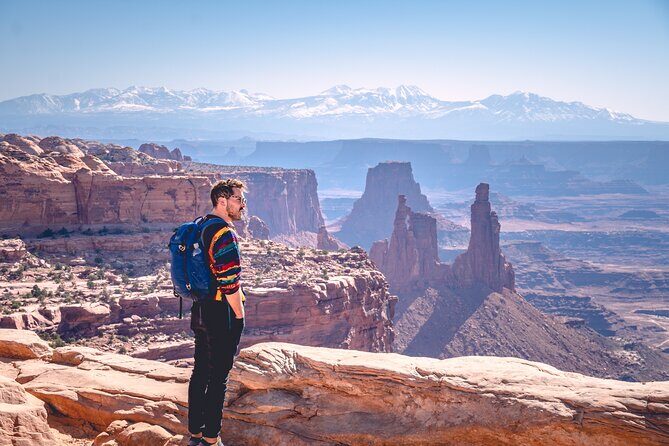
This tour is about more than astronomy. It is about walking through Arches National Park after dark and learning how the terrain affects what you photograph and how safely you move.
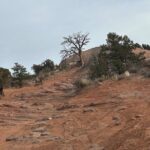
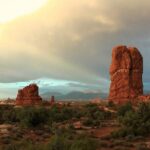
The route begins from the Windows trailhead and involves roughly a 2-mile hike. You follow your guide through a rocky area that is often described as a rock garden, where footing matters even when you think you are just going from point A to point B.
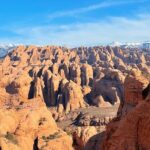
Along the way, you see the park’s best-known rock features in a new light. Expect stops and slow-down moments at:
- North and South Windows
- Turret Arch
- Double Arch (the highlight)
Night changes everything about these arches. During the day, you notice scale and texture. At night, the rocks become silhouettes, and the sky becomes part of the composition. That is why the photography coaching is timed with the scenery. The guide is not teaching astronomy facts for their own sake. They are teaching you how to frame and focus while you are standing in the exact spots that make the photos look like something you cannot unsee.
One practical note: there are drop-offs along parts of the route. The guide’s job includes keeping you safe and helping you know where to step in the dark. If you have ever tried to walk near steep edges with only a headlamp, you already know why that matters.
Learning night photography fundamentals without the stress
You come for the stars, but you stay because you learn how to capture them. The tour covers the fundamentals of astrophotography and how to operate your camera during the hike so you are not guessing in the dark.
A big win: the guide helps you work with what you have. Multiple people have talked about getting great shots using cellphones and phones like iPhones, not just DSLRs. That means you can leave with skills that are actually usable later—even if you do not rent extra gear.
Here is what that kind of instruction tends to change for you:
- You learn how to steady your camera setup (tripod timing helps)
- You learn how to take better shots even when the stars are faint
- You learn what to expect when your camera sees more than your eyes
The tour also points out a useful reality of night photography: photos may pick up light that you cannot see with your naked eye. That is not cheating. It is physics and sensor sensitivity. Once you understand that, you stop chasing only what you think you should see and you start trusting your results.
You also practice before the main showpiece. You get time to try the techniques you just learned and adjust without rushing. That matters, because night conditions can change fast.
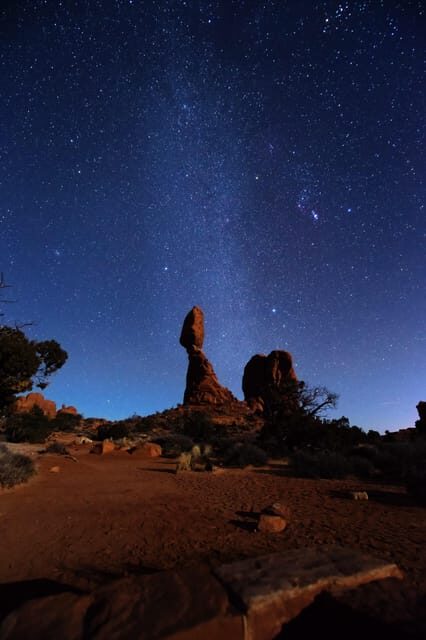
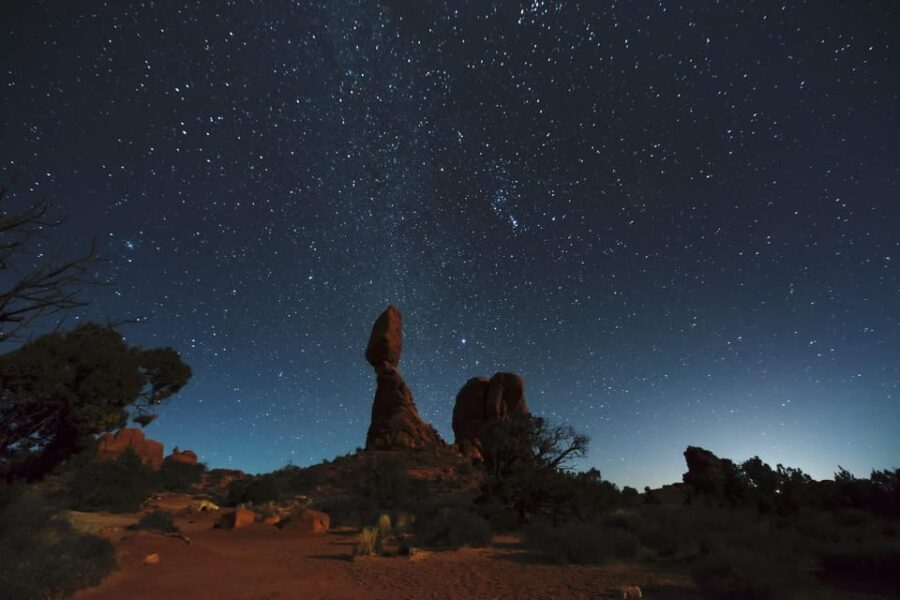
Milky Way chances, northern lights surprises, and the moon factor
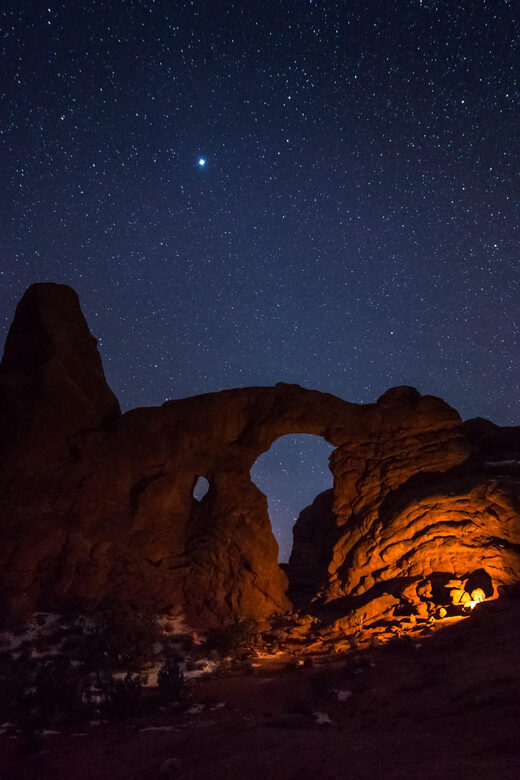
The promise here is clear: you should be able to see the Milky Way with the naked eye if conditions cooperate. The bigger theme is the difference between city skies and dark-sky skies. Moab is made for this kind of night, and getting away from light pollution makes the whole sky feel active.
Moon phase plays a huge role, and this tour treats it like a real factor, not an afterthought. The guidance is that astrophotography can look good in many parts of the lunar cycle. One end of the spectrum gives you a darker sky. The other end can create a different, softer look that still photographs beautifully.
A real-world example from recent experiences: one group reported seeing northern lights when the weather turned clear. That is not guaranteed, but it is a reminder that the night sky can be generous when conditions line up.
If you want the sky as dark as possible, contact the provider so they can make sure the timing works for your goal. That small planning step can make the Milky Way pop more.
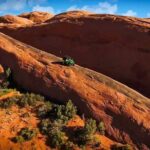
Other hiking tours in Moab
Who this tour fits best (and who should skip it)
This is a night hiking tour, not a light stroll. It is roughly 2 miles and happens after dark. Wear hiking shoes with real grip, and plan for a slower pace while you stop for photos.
It is not suitable for:
- Children under 6
- People with mobility impairments
- Wheelchair users
Also, pets are not allowed.
Who tends to love this most:
- First-timers who want a guided path to real stargazing and better photos
- People who already own a camera and want coaching in field use
- Phone photographers who want to stop taking blurry star attempts
- Anyone visiting Arches who wants a different angle than the usual daytime route
If you are comfortable walking on uneven rock in the dark and you like hands-on learning, you are in the right place.
Price and value: what $175 buys you at Arches after dark
At $175 per person for a 2-hour experience, you should think of this as a guided photo workshop with a scenic hike, not as a casual astronomy outing.
Here is what you are paying for:
- A live guide leading a small group of up to 6 people
- Red LED headlamps for safe night walking
- Tripods if needed, which directly impacts photo quality
- Hands-on instruction on astrophotography basics
- Time at the most photogenic Arches features (Windows, Turret Arch, Double Arch) under dark sky conditions
Then there are costs you should plan around. The Arches entry pass is not included, and it is listed as $30 per standard vehicle. Transportation to the meeting point is also not included. Those are important because they affect your total day cost, especially if you are splitting costs with friends.
The DSLR rental is optional and costs extra, but you do not have to buy it to benefit. The tour is designed to work with your own camera or smartphone, and the included instruction is a big part of why the value holds even without renting gear.
What to bring for a smooth, photo-ready night
Bring a short, practical list and stick to it:
- Camera
- Hiking shoes
- Water
- Charged smartphone
If you have a tripod, you might bring it, but the tour includes tripods if needed. Still, a well-prepared bag makes the first setup faster, and faster setup means more time practicing.
Also be ready for the fact that you might photograph things you cannot see with your eyes. Do not let that throw you. It is normal for night imaging.
Should you book this Moab dark sky hike?

Book it if you want Arches National Park in a way most people do not see. The combination of dark-sky stargazing, iconic rock formations, and actual photo coaching is the sweet spot. You will walk away with images you can be proud of and skills you can use later—whether that means improving your phone shots or getting more confident with your camera.
Skip it if nighttime uneven hiking sounds like a chore. Even with a guide, the terrain is real, and the hike is about 2 miles. If you cannot handle that, you will likely spend the whole time focused on where to put your feet instead of looking up.
If you are on the fence, I suggest a simple check: do you enjoy learning by doing? If yes, this tour is a strong bet.
FAQ
Where do I meet for the hike?
Meet at the Windows parking area in the first parking lot on the right.
How long is the experience, and how much do you hike?
The tour lasts 2 hours and includes roughly a 2-mile hike.
What’s included during the tour?
Included items are the guide, the walking tour, red LED headlamps, and tripods if needed.
Can I rent a DSLR camera or lens?
Yes. DSLR camera and/or lens rentals are available for an additional fee before the start of the tour, with Canon EF/EFS and Nikon F mount options.
What should I bring with me?
Bring your camera, hiking shoes, water, and a charged smartphone.
Are pets allowed?
No, pets are not allowed on this activity.
What are the cancellation terms?
You can cancel up to 24 hours in advance for a full refund. There is also a reserve now & pay later option shown for this activity.